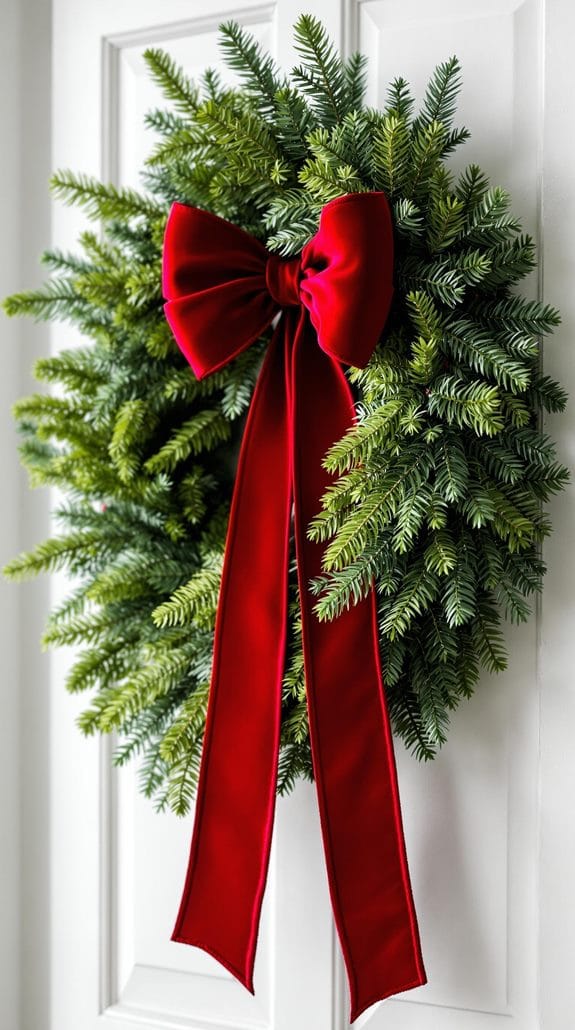
You’ll need an 18-inch wire wreath form, mixed greenery, paddle wire, and basic tools like garden clippers to create a beautiful Christmas wreath.
Start by organizing your workspace and sorting greenery into manageable piles. Create small, consistent bundles using different types of greenery, then secure them to the form with wire, working in one direction.
Overlap each bundle to hide the wire and create fullness, checking for gaps as you go. Add personal touches with ornaments, ribbon, or dried fruits once the base is complete.
The key to a professional-looking wreath lies in the details that follow.
Design Highlights
- Start with an 18-inch wire wreath form and secure mixed greenery bundles using 22-gauge paddle wire for a strong foundation.
- Create consistent-sized bundles mixing spruce, arborvitae, and other greenery, overlapping them to hide the wire form completely.
- Work in one direction around the wreath, attaching bundles tightly and checking for gaps as you progress.
- Add decorative elements like pinecones, berries, or ornaments after completing the greenery base for a festive look.
- Finish by lifting the first bundle carefully to tuck in the final pieces, ensuring a seamless and professional appearance.
Let’s Make a Festive Wreath
A beautiful Christmas wreath is easy to make when you know how! This quick video shows you how to make a fabulous Christmas wreath, even if you’ve never before created one.
If you love easy DIY holiday projects, why not make one for your front door or fireplace this season? Have fun, personalize it, enjoy!
Reviewing the Wreath Design Process

Creating a gorgeous Christmas wreath is easy if you follow these steps.
Gather the Materials You Need
- 18-inch wreath form
- Garden clippers
- 22-gauge paddle wire
- Mixed greenery (spruce, arborvitae, winterberry holly, dogwood)
- Optional monogram letter
Organize Your Workspace
- Sort greenery into separate piles
- Cut manageable pieces from branches
- Keep wire and clippers within reach
- Guarantee adequate workspace for assembly
Prepare Your Initial Bundle
- Select pieces from each type of greenery
- Create small, balanced bundles
- Secure wire firmly to the wreath form
- Position the first bundle as the anchor point
Build the Wreath
- Attach bundles to the frame with consistent spacing
- Alternate bundle direction for depth
- Overlap pieces to hide the wire
- Maintain even fullness throughout
- Check for gaps while working
Complete the Final Section
- Create a smaller bundle for the end piece
- Lift the first bundle carefully
- Thread the wire through precisely
- Secure the last pieces without pinching
- Adjust for a seamless appearance
Display and Maintain Your Wreath
- Mount wreath securely
- Add optional decorative elements
- Check balance and symmetry
- Store properly when not displayed
- Monitor the condition of the greenery

Additional DesignTips
When designing your wreath. follow these tips for a professional look:
- Keep your bundle sizes consistent
- Wire everything tightly
- Check for gaps while working
- Maintain a balanced distribution
- Create depth through layering
Final Thoughts

Following these detailed steps will help you create a beautiful, professional-looking wreath that captures the spirit of the holiday season.
With practice, wreath-making becomes easier and more enjoyable, allowing you to experiment with different color schemes and decorative elements.
Don’t be discouraged if your first wreath isn’t perfect – it’s normal to need a few attempts to master the techniques. You can always adjust ornaments and ribbons until you’re satisfied with the final look.
Consider making additional wreaths as thoughtful holiday gifts for friends and family. You’ll save money compared to store-bought versions, and recipients will appreciate the personal touch of a handmade decoration.
If you’re feeling creative, try incorporating non-traditional elements like dried fruits, pinecones, or even small battery-operated lights.
You’ve now got the skills to create stunning wreaths that’ll bring warmth and festivity to any home during the Christmas season.
Want More Design Tutorials Like This?
Sign up here and I’ll let you know whenever I add or update anything.
You can follow me on social media for updates, too. If you enjoyed this tutorial, why not share it with your friends?
Til next time,


