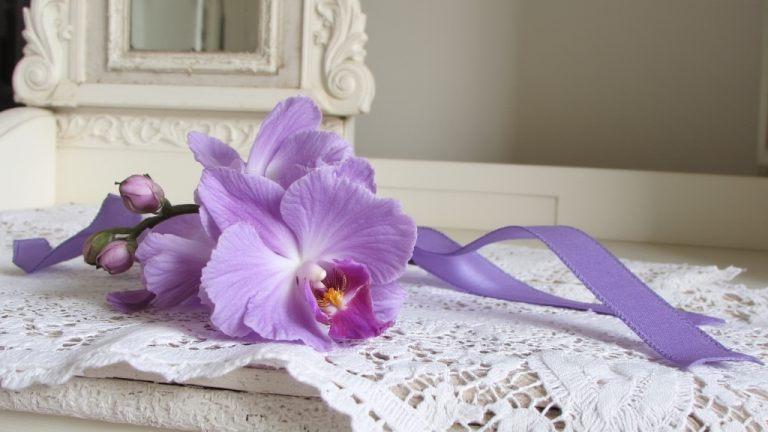
Have you ever admired a stunning bridal bouquet and thought, “I wish I could make that”? Good news – you absolutely can! Creating your bouquet adds a personal touch to your special day or event while potentially saving hundreds of dollars.
Plus, arranging flowers with your own hands for such a meaningful occasion is a special experience.
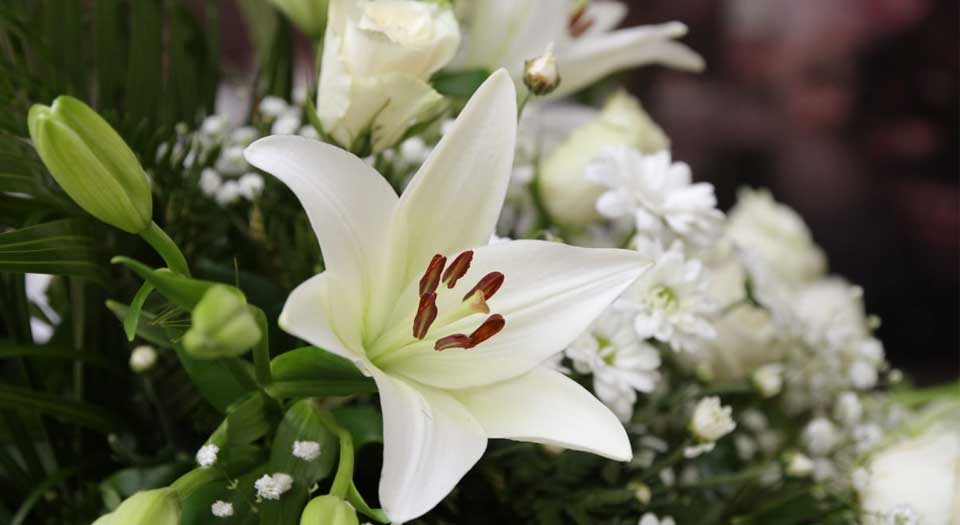
This short video shows you how to design a simple yet stunning lily wedding bouquet, even if you’ve never tried to make one yourself before.
Perfect for a bride or attendant, this video shows how easy working with lilies can be in wedding bouquets.
Materials You’ll Need
Flowers and Greenery:
- Fresh lilies (choose blooms that have recently opened)
- Greenery or foliage for filling and texture
- Optional: artificial elements for longevity or special effects
Tools:
Small spray bottle with water
Sharp scissors or flower snips (kitchen scissors will work in a pinch)
Cable ties (floral tape or strong string can substitute)
Wire cutters (heavy-duty scissors can work for artificial stems)
Floral tape (masking tape can substitute)
Decorative ribbon
FYI, you can find the spider plant as well as the rest of the floral supplies used on Amazon or at a local craft store like Hobby Lobby or your local florist.

Step-by-Step Instructions
1. Prepare Your Flowers
Select and condition your flowers by removing damaged petals and cutting stems at a slant (about 45 degrees) to maximize water absorption. Remove excess foliage, especially any that would sit below the water line.
2. Create Your Base
Select a few sturdy flowers or greenery pieces to form the center of your bouquet. These will serve as the foundation around which you’ll build your arrangement.
3. Build Your Bouquet
Hold your base pieces gently in your non-dominant hand. Add flowers one by one, positioning each at a slight angle and rotating the bouquet as you go. This creates a natural, rounded shape with even distribution.
4. Incorporate Artificial Elements (Optional)
If using artificial pieces, position them evenly throughout the bouquet. These can add special touches like trailing vines, sparkle, or colors that aren’t available in natural flowers.
5. Secure the Arrangement
When satisfied with your design, hold the stems firmly and turn the bouquet upside down. Place a cable tie around the stems about 3-4 inches below the flower heads. Tighten gently – just enough to hold everything in place without crushing the stems.
6. Trim the Stems
With your bouquet secured, trim the stems to a uniform length. For mixed fresh and artificial elements, use wire cutters for any wire stems.
7. Finish the Handle
Wrap the stems with floral tape, starting just below the cable tie and working downward. Cover the tape with your chosen decorative ribbon, securing with pins or a dab of glue at the end.
8. Hydrate and Store
Keep your bouquet fresh by spritzing the flowers lightly with water and storing them in a cool place with the stems in water until your event.
Pro Tips & Common Mistakes to Avoid
Pro Tips:
- Purchase flowers 2-3 days before your event so they have time to open fully
- Work in front of a mirror to check your bouquet’s symmetry as you build
- Gently spray flowers with water to keep them hydrated during assembly
- Remove flower stamens to prevent pollen stains on clothing
Avoid These Mistakes:
- Don’t make your bouquet too tight – allow some natural movement
- Avoid pulling the cable tie too tightly, which can damage delicate stems
- Don’t forget to remove thorns from roses or rough edges from greenery
- Avoid leaving your finished bouquet in direct sunlight or heat
Design Variations to Try
Seasonal Adaptations:
- Spring: Incorporate tulips, daffodils, and cherry blossoms
- Summer: Try sunflowers, dahlias, and garden roses
- Fall: Add chrysanthemums, maple leaves, and berries
- Winter: Include evergreens, holly, and white amaryllis
Color Schemes:
- Monochromatic: Different shades of the same color for elegant simplicity
- Complementary: Opposite colors on the color wheel for dramatic effect
- Pastel: Soft colors for a romantic, dreamy look
- Bold: Vibrant colors for a statement piece
Different Uses:
- Create matching smaller versions for bridesmaids
- Scale down for flower girl posies or corsages
- Adapt the technique for table centerpieces
- Make a commemorative bouquet for anniversaries or memorials
Some Final Thoughts
Remember, your handmade bouquet doesn’t need to look “professional” to be beautiful. What makes it special is the love and care you put into creating it. Don’t worry about perfection – nature itself isn’t perfect, and that’s part of its charm.
Start with a small, simple arrangement to build your confidence. With each bouquet you create, you’ll discover your style and preferences. Trust your eye and enjoy the creative process!
Want More Tutorials Like This?
Enter your email address below to receive updates whenever I add new material. Content notifications are all you’ll ever receive from me. No promos.
Whether you subscribe or not, I’d still be very grateful if you’d share this post via one of the social share buttons below.
Lastly, it means a lot to me to hear what my visitors think of the content I share on this site. Connect with me on social media and let me know what you liked or didn’t like about the video.
Til next time,