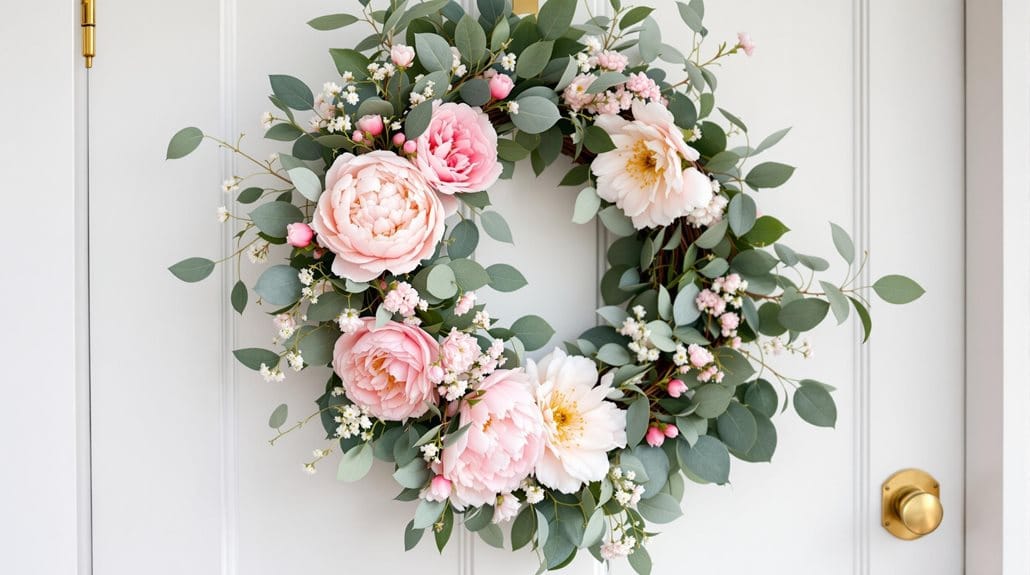
Spring floral decor transforms living spaces from winter dormancy into vibrant, welcoming environments that celebrate nature’s renewal.
Whether you’re planning to refresh your home’s ambiance or seeking seasonal decoration ideas, incorporating flowers into your decor creates instant impact and emotional connection.
From DIY arrangements to professional displays, this guide explores creative ways to bring spring’s beauty indoors while considering practical aspects like allergies and budget.
Design Highlights
- Seasonal flowers like tulips and daffodils create an immediate visual impact in entryways and living spaces
- DIY floral arrangements can save money while allowing creative expression through personalized designs
- Pressed flower art offers a long-lasting alternative to fresh arrangements and involves the whole family
- Strategic placement of low-allergen flowers enables everyone to enjoy spring decor safely
- Combining artificial and fresh flowers provides cost-effective year-round beauty
Seasonal Blooms for Every Space
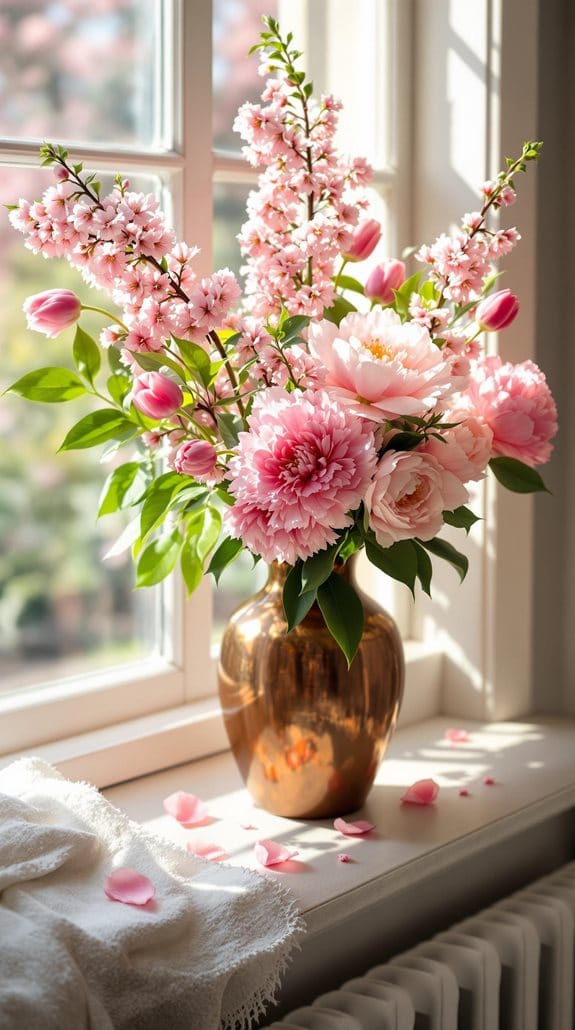
Ready to bring some flower magic into your home? Let’s explore how seasonal blooms can transform every corner of your space!
Start with your entryway – you’ll love how tulips, daffodils, and hyacinths create such a warm welcome for you and your guests. Trust me, there’s nothing like walking through your door to see these cheerful blooms greeting you after a long day. Incorporating Peach Fuzz blooms adds a trendy, soft warmth that perfectly complements spring flowers. Natural decor elements help create a seamless transition between outdoor and indoor spaces.
For your living room, try this designer trick I swear by. Place cherry blossoms or dogwood branches in tall vases. They’ll add that perfect touch of drama without overwhelming the space.
And when it comes to your dining table, I’ve found that a low arrangement of peonies and ranunculus works beautifully – you’ll be able to see your dinner guests across the table!
Don’t worry if you’re working with tiny spaces – they deserve some flower love too! Pop some sweet little potted primrose on your bathroom windowsill, or treat yourself to the fragrant lily of the valley on your nightstand.
You’ll be amazed at how these small touches can lift your mood.
Working from home? Your office buddy should be a low-maintenance orchid or peace lily. They’re perfect for spaces with indirect light, and they’ll keep you company during those long Zoom calls.
And here’s my favorite kitchen tip: line your windowsill with small bud vases, each holding a single garden flower stem. It’s such a simple way to bring joy to your daily cooking routine!
Remember, there’s no wrong way to decorate with flowers – the best arrangements are the ones that make you smile when you see them.
Natural spring décor can instantly transform any room into a fresh and inviting space.
Why We Like This Idea
Seasonal floral decor connects indoor spaces with nature’s rhythms while providing flexibility to change designs throughout the year.
DIY Natural Flower Arrangements
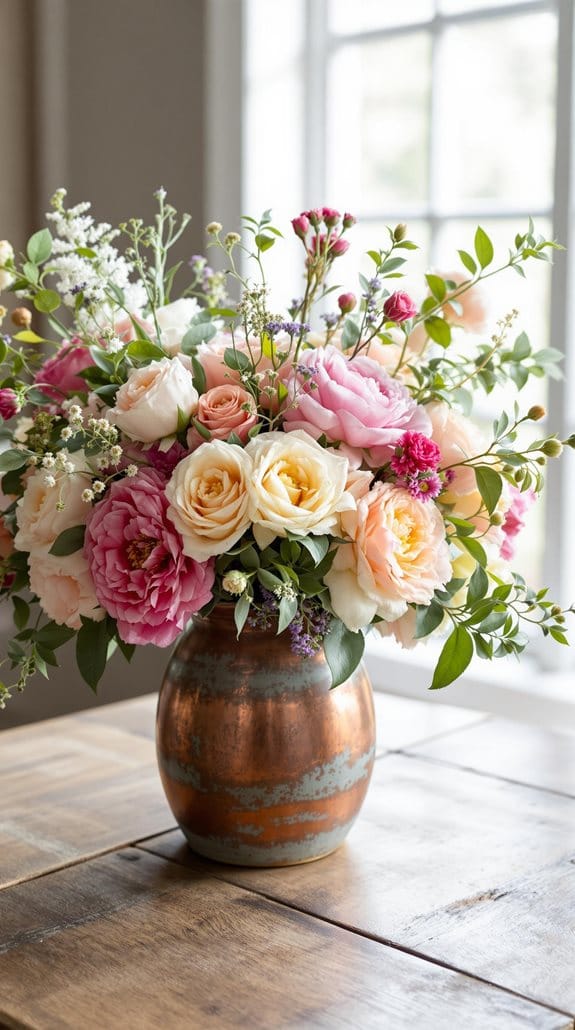
Let’s create something beautiful together! Do you know what I love about DIY flower arrangements? They let you bring your personal touch to any space. Trust me, it’s easier than you might think!
Start with a sturdy vase – nothing fancy, just one you love. Here’s a pro tip: create a little support grid on top using clear floral tape. It’s like giving your flowers a cozy framework to lean on, and it’ll keep everything exactly where you want it. Classic white flowers work beautifully in any arrangement, creating an elegant and timeless look.
Now for the fun part! Pick out flowers that catch your eye, mixing different heights and textures. When trimming the stems, go for that 45-degree angle cut – it’s like giving your flowers a bigger straw to drink from. Using Floralife preservative in your vase water will help nourish your flowers and extend their life.
Pop in your showstopper blooms first, playing around with the heights until it feels right. Then, think of smaller flowers and fillers as your supporting actors – they’re the ones that make your stars shine even brighter!
Want to know my favorite finishing touch? Add trailing pieces near the edges – it gives that gorgeous, just-picked-from-the-garden look. And remember those leaves below the waterline? They’ve got to go – think of them as uninvited guests at your flower party!
Keep your lovely creation fresh by changing the water every few days (just like you’d refresh your water glass), and keep it away from sunny windows and heating vents. Your flowers will thank you by staying beautiful longer!
The criss-cross layering technique can replace floral tape entirely, creating a natural support system for your arrangement.
Modern Wreath-Making Techniques
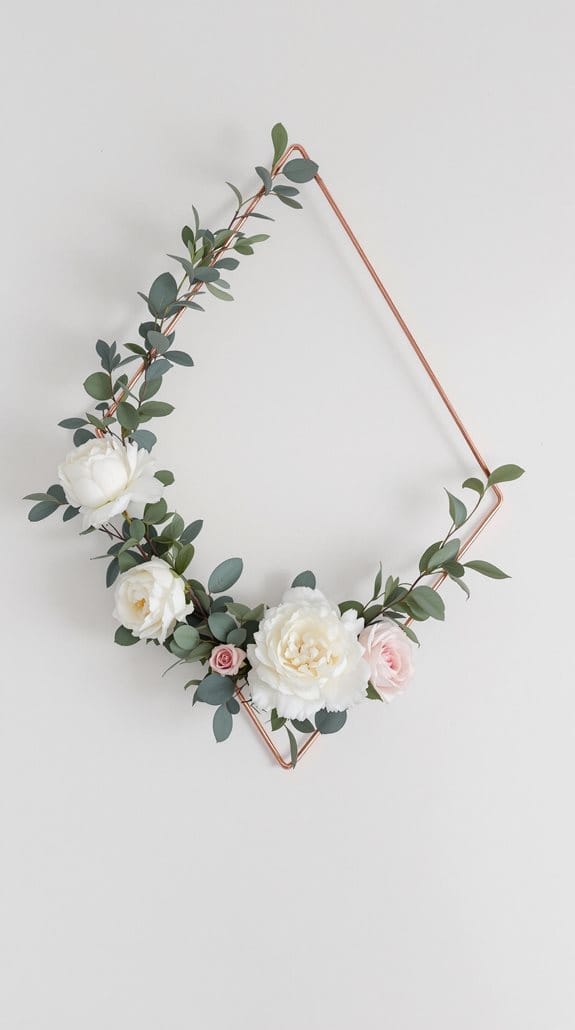
Let’s check out the wonderful world of modern wreath-making together! Remember how many wreaths used to be all about those traditional grapevine circles? Today we’re getting much more creative – think sleek metal hoops, unique shapes, and designs that’ll make your front door the talk of the neighborhood.
I love how modern wreaths embrace that “perfectly imperfect” look with asymmetrical designs and intentional empty spaces. Trust me, sometimes less really is more! You can start with something unexpected for your base – I’ve had great success using copper tubing (it looks amazing!), geometric wire frames or even macramé rings if you’re feeling crafty. Consider adding fresh-cut flowers to create stunning seasonal displays that double as memorable decor pieces. A rustic wood easel can provide the perfect backdrop for displaying your wreath creation indoors.
Want to know my favorite part? Mixing materials! Try pairing dried flowers and preserved eucalyptus (they last forever!) with some modern touches like metallic sprays or tiny LED lights.
And don’t feel stuck with circles – grab a triangular or square frame if you’re feeling bold. These unexpected shapes often turn out to be total showstoppers.
While you’re working, keep your trusty floral wire or hot glue gun nearby. I always work in sections to keep things balanced – it’s like putting together a puzzle, but way more fun!
Take time with each section. Don’t be afraid to step back and adjust as you go. Remember, there’s no “wrong” way to make a modern wreath – it’s all about expressing your creative vision!
For an 18-inch frame, you’ll want to gather three eucalyptus varieties to achieve the fullest and most visually appealing results.
Fresh Table Centerpiece Ideas
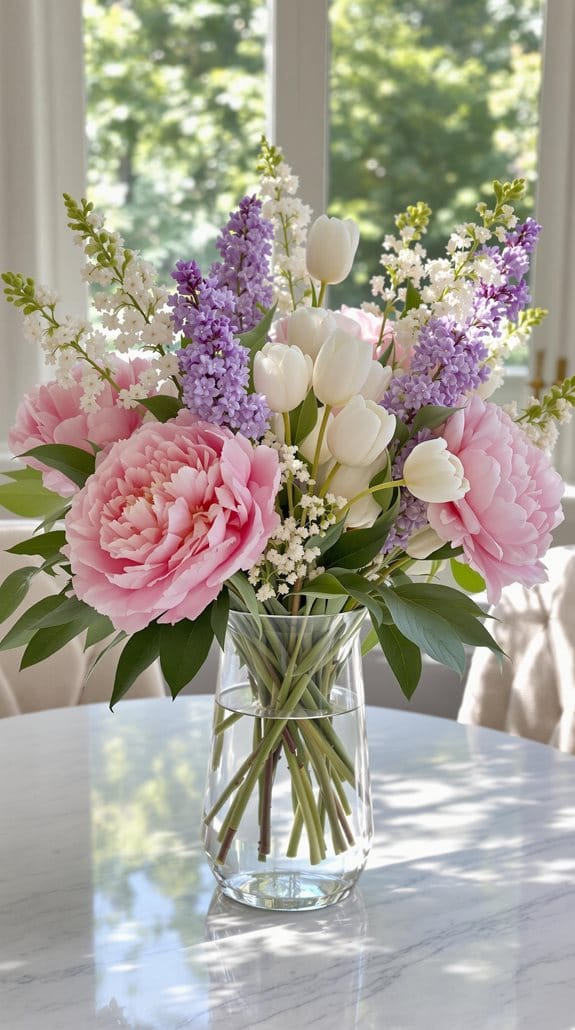
Let’s make your table gorgeous with fresh centerpiece ideas that’ll wow your guests! Start by gathering those springtime favorites – tulips, daffodils, and hyacinths. When you arrange them in clear glass vases at different heights, trust me, you’ll create this amazing layered effect that catches everyone’s eye.
Want to know a little secret? Tuck in some eucalyptus or ferns between the blooms – it adds this wonderful depth that makes everything look so put together.
You know those mason jars collecting dust in your cabinet? Give them new life as charming vases! They work beautifully with wildflowers and baby’s breath for that casual, countryside feel.
If you’re worried about tall arrangements blocking conversation (we’ve all been there!), try this neat trick: float some flower heads in shallow water bowls. It’s simple but stunning, and your guests can still see each other across the table!
Here’s something fun to try. Grab some twigs, moss, or river rocks from your yard or craft store. Layer them at the base of your arrangement – it’s amazing how these natural elements can transform a simple centerpiece into something special.
Quick pro tip: Always cut those stems at an angle (it helps them drink more water), and look around your room before choosing your flowers. When your centerpiece colors complement your space, everything just flows together beautifully.
Dendrobium orchids submerged in water with floating candles create an elegant and dramatic centerpiece alternative.
You’ve got this, and your table will look amazing!
Floral Wall Art Displays

Ready to turn those blank walls into a gorgeous botanical showcase? Let me walk you through creating stunning floral art displays that’ll bring the garden indoors!
Start by collecting and pressing your favorite spring blooms between sheets of glass. It’s easier than you might think. Simply arrange your flowers and carefully, sandwich them between two pieces of glass, and secure using binder clips. You’ll have beautiful pressed specimens ready for framing in about two weeks.
Want to get creative with your display? Try mixing and matching different elements. Pair those lovely pressed flowers with vintage botanical prints, or create depth by combining preserved botanicals with watercolor pieces.
I love arranging pressed wildflowers in geometric patterns – it adds a modern touch to a classic technique!
For a special effect, experiment with lucite frames. The way light filters through them creates the most beautiful shadows on your walls.
And here’s a quick tip: group similar flowers or colors together to create eye-catching focal points to draw everyones attention.
Don’t forget about adding dimension! Shadow boxes are perfect for creating 3D displays that pop. You can even try mounting your pressed flowers on handmade paper for that organic, natural feel that’s so on-trend today.
Window and Door Decorating
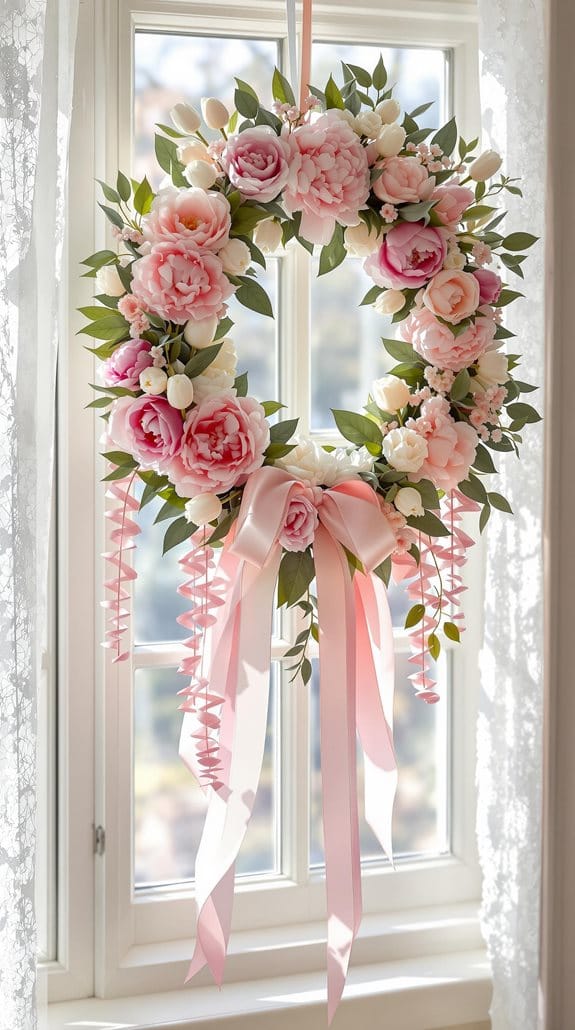
Transform your entryways into cheerful spaces with some simple floral magic!
Let’s start with those windows – you’d be amazed at how a few well-placed blooms can brighten your day. Try adding soft floral valances (they’re easier to hang than you might think!), or if you’re feeling crafty, create pressed flower panels – the way they catch the sunlight is dreamy.
Got a sunny windowsill? That’s your perfect spot for potted flowers! And don’t worry if you’re new to gardening – window boxes are super forgiving. Just pop in some petunias and ivy, give them regular water, and watch them flourish. Trust me, your neighbors will be asking for your gardening secrets!
Now, let’s talk doors – and I know what you’re thinking: “Not another basic wreath!” You’ve got so many more options, friend. Have you tried hanging dried lavender bundles? They smell amazing and last forever.
Or why not create a door swag? Gather some fresh or faux flowers, grab your favorite ribbons, and let your creativity shine.
Here’s a pro tip I discovered by accident: grapevine garlands are incredibly forgiving when you’re decorating. Weave in some silk flowers (they’ll last through any weather), and suddenly you’ve got this gorgeous, professional-looking doorway.
And if you can get your hands on a vintage window box, mount it beside your entrance. Instant charm!
Don’t forget about that screen door – it’s begging for some decorative love! Try lightweight floral arrangements or, my personal favorite, botanical prints in weatherproof frames.
The key is keeping it simple but stylish – you’ve got this!
Pressed Flower Projects
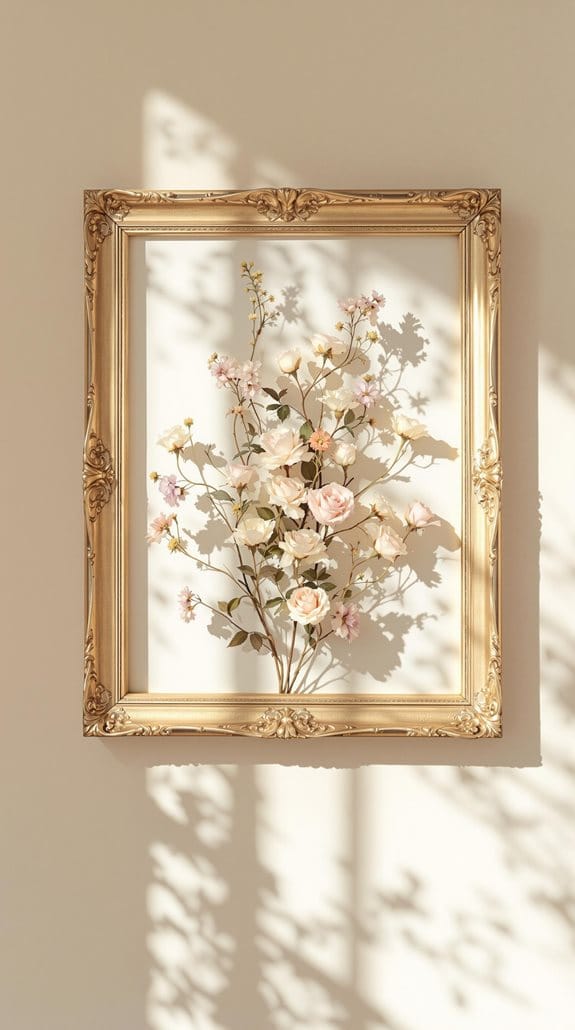
Ready to dive into the wonderful world of pressed flower art? Let me show you how to capture spring’s beauty in one of the most charming ways possible.
First things first – you’ll need to press those gorgeous blooms. Grab a flower press or some heavy books (I love using my old college textbooks for this!). Be patient though – it’ll take about 2-3 weeks for your flowers to fully flatten and dry. Trust me, it’s worth the wait!
Once your flowers are ready, let’s create something beautiful together. One of my favorite projects is making wall art. Arrange your pressed treasures between glass frames for instant botanical elegance.
Need a quick win? Create sweet floral bookmarks by sandwiching flowers between clear contact paper. They make perfect personalized gifts!
Want to add a personal touch to your correspondence? Transform ordinary cards into little works of art by arranging pressed flowers on cardstock. Don’t forget to seal them with clear adhesive to keep everything in place.
And if you’re feeling a bit more adventurous, try creating modern geometric patterns in floating frames, or go all out by embedding flowers in epoxy resin for stunning coasters and serving trays.
Creative Container Gardens
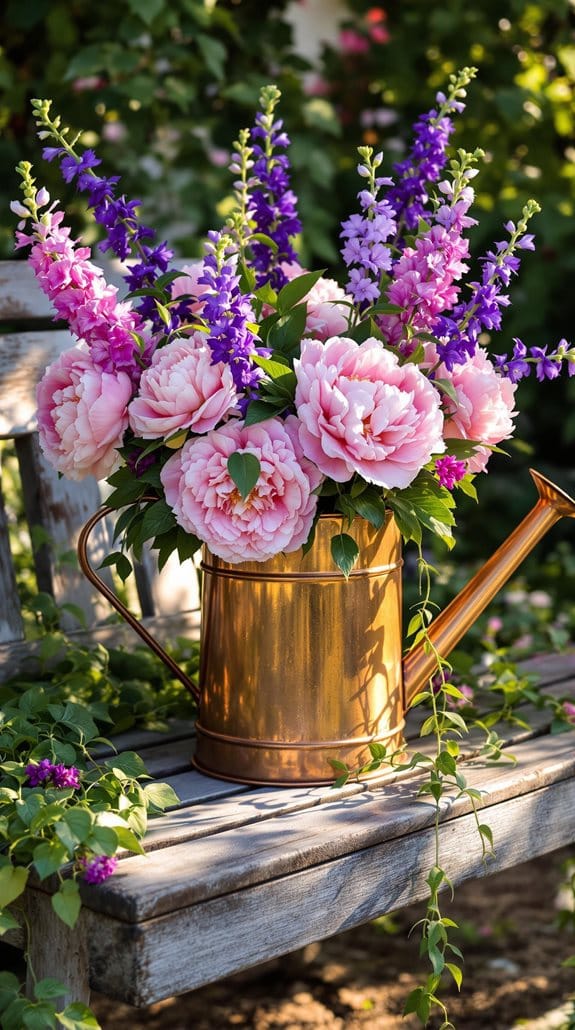
Let’s make your container garden dreams come true! You’ll be amazed at how these versatile mini-gardens can brighten up any space you have – even if it’s just a cozy balcony corner or a slice of patio.
I love mixing and matching flowering superstars like cheerful petunias, sweet-faced pansies, and hardy geraniums. Add some trailing vines and tall snapdragons, and you’ve got yourself a gorgeous layered look that’ll make your neighbors peek over the fence!
Want to know my favorite container garden secret? Think outside the typical pot! Those old watering cans gathering dust in your shed? Perfect planters. That wooden crate you’ve been meaning to upcycle? Instant charm. You can even transform those outgrown rain boots into the cutest flower displays.
Now, let’s talk about keeping your plant babies happy. You’ll want to play matchmaker with your plants – group the sun-lovers together and give the shade-seekers their own space. Trust me, your plants will thank you!
Create some drama (the good kind!) by playing with height – pop in a trellis or arrange your containers at different levels. And don’t forget to mix up those textures and colors – it’s like styling the perfect outfit, but with plants!
Just remember two non-negotiables: drainage holes (your plants need them like we need coffee) and quality potting soil (this isn’t the place to cut corners). Get these basics right, and you’re well on your way to container garden success!
Preserving Spring Flowers
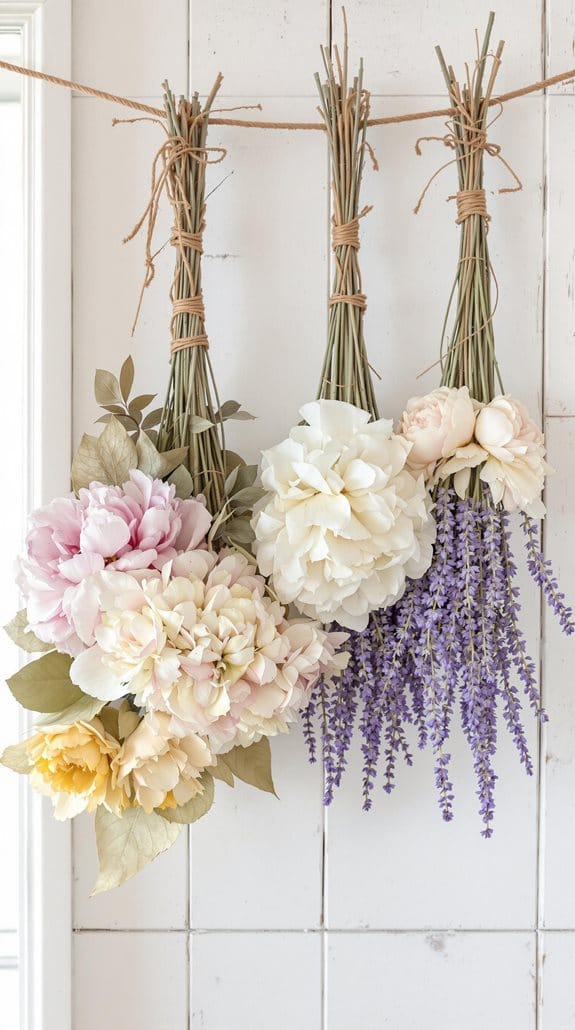
Ready to keep those gorgeous spring blooms around a bit longer? There’s something magical about preserving flowers – and it’s easier than you might think!
Let’s walk through some tried-and-true methods that’ll help you capture that springtime joy well into the winter months.
If you’re just getting started, try hang-drying – it’s practically foolproof! Simply gather 8-10 of your favorite stems, bundle them together (I like using a rubber band), and hang them upside down in a dark, dry spot.
Give them about 2-3 weeks, and you’ll have beautifully preserved blooms.
Want to create something special? Pressing flowers is your friend! Grab those precious petals and nestle them between sheets of parchment paper inside a heavy book.
In about 2-4 weeks, you’ll have perfectly flat, delicate flowers ready for crafting.
Now, if you’re ready to take your preservation game to the next level, silica gel is your secret weapon. This method keeps colors incredibly vibrant – just pop your flowers in an airtight container, cover them completely with the gel, and check on them every few days (usually 3-7 days does the trick).
You can work this magic on all sorts of flowers – roses, daisies, lavender, hydrangeas – you name it!
Once they’re preserved, let your creativity shine by arranging them in shadow boxes, creating pressed flower art, or making stunning dried arrangements.
Frequently Asked Questions
How long do spring flower arrangements typically last?
Most spring flower arrangements last 5-7 days with proper care, including daily water changes and stem trimming. Tulips typically have shorter vase life (3-5 days) while daffodils can last up to 10 days.
What’s the best way to prevent flower allergies while enjoying spring decor?
Choose low-allergen flowers like roses and orchids, maintain good ventilation, and consider using high-quality artificial flowers in bedrooms. Regular cleaning around flower displays also helps minimize allergen accumulation.
How can I make my flower arrangements look professional?
Use odd numbers of flowers, vary heights and textures, create depth with greenery, and ensure proper stem support with floral tape grids. Professional-looking arrangements also benefit from regular maintenance and strategic flower placement.
What’s the most cost-effective way to maintain fresh flower displays throughout spring?
Combine locally sourced seasonal flowers with high-quality artificial elements, create smaller arrangements that require fewer stems, and learn basic floral design principles to maximize the impact of budget-friendly blooms.
Want More Tips Like This?
If so, sign up here and I’ll let you know whenever I add or update anything.
You can also follow me on social media for more updates. And if you liked this article, share it with your friends.
Til next time,
Til next time,


