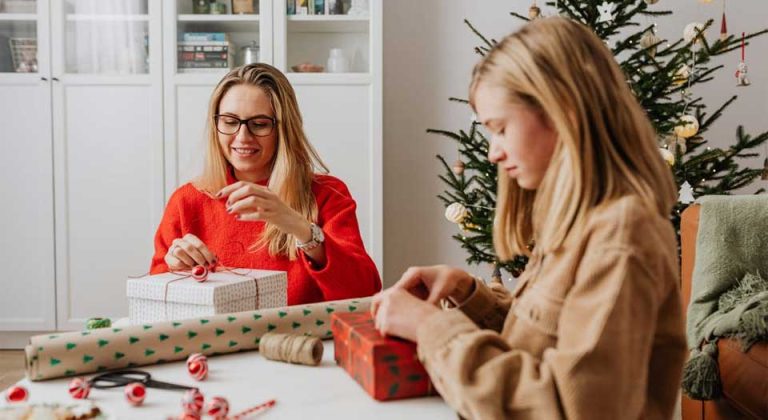
Perfect bow-tying techniques transform ordinary gifts into elegant presentations, whether using double-sided satin ribbon or single-sided material.
Professional gift wrapping requires understanding the subtle differences between ribbon types and mastering basic bow-forming methods.
This comprehensive guide covers essential bow-tying techniques for beginners and those looking to enhance their gift-wrapping skills.
Key Points
- Proper loop adjustment ensures balanced and visually appealing bows
- Double-sided ribbon bows require symmetrical loops and a centered knot for professional results
- Single-sided ribbons need strategic twisting to maintain the satin side’s visibility
- Cutting ribbon ends at a 45-degree angle creates a polished, professional finish
Overview
I hope you found this video useful. Getting started with bow-making is easy. All the supplies in this video, including the ribbon, can easily be bought online at craft sites like HobbyLobby or ordered through your local florist.
Learning to tie perfect bows is one of those life skills that’ll come in handy more often than you’d think! Whether wrapping a special gift or helping your little one with their shoes, you’ll be so glad you’ve got this technique down.
Let me break it down for you – it’s simpler than it looks. Think of a bow as having four friendly parts working together: two loops (we often call them “bunny ears” because they’re cute and they help you remember!) and two loose ends. The magic happens when you cross these pieces in just the right way.
The trick that took me years to figure out? Keep your material nice and flat as you go – no one wants a wrinkly, twisted bow!
Once you’ve got the basics down, you can use this same technique whether you’re working with silky ribbon, sturdy shoelaces, or any fabric strip for that matter. Remember to adjust your touch – some materials need a gentle hand, while others can handle a firmer grip.
You’ll soon discover your rhythm with it, playing around with different loop sizes and tensions until you find what works best for each situation. Trust me – with a little practice, you’ll be tying beautiful bows in your sleep!
Let’s Recap the Steps

Let’s walk through tying that perfect bow together – trust me, you’ve got this!
- Start by crossing the right end over the left to make an “X” shape – just like crossing your fingers for good luck!
- Take that right end and guide it under and through the space behind your “X” – think of it as threading a needle.
- Give both ends a gentle but firm pull to create a solid foundation knot-this is key to a bow that stays put.
- Now comes the fun part – make a loop with the left end, like you’re making a bunny ear.
- Take the right end and bring it down right in front of your first loop – you’re halfway there!
- Here’s where the magic happens – fold that right end behind to create your second loop.
- Find the middle of your second loop and guide it through the hole behind the first one – almost like a little secret passage.
- Hold onto both loops and give them a gentle outward pull-there is no need to wrestle with it; it should be nice and easy.
- Take a moment to make those loops even – think of them like twins who should match.
- Finally, give those loops and ends a little loving adjustment until everything looks perfectly balanced.
Final Thoughts

Learning to tie bows is like riding a bike – once it clicks, you’ll wonder why it ever seemed tricky! Trust me, your fingers will start dancing through the motions before you know it.
Whether you’re jazzing up birthday presents, tackling those pesky shoelaces, or diving into craft projects, these techniques will become your trusty sidekicks.
Don’t be too hard on yourself if your first few bows look more like tangled knots – we’ve all been there! Each attempt builds that sweet muscle memory, and you’re getting better even when it doesn’t feel like it.
Play around with different loop sizes until you find what works for your project, and keep an eye on making those sides even – it’s your secret weapon for that “wow” factor.
And here’s a friendly tip: different ribbons have different personalities. Silk might need a gentler touch than cotton, while satin could use a firmer hand. Adjust your technique as you go, and you’ll be a bow-tying pro in no time!
Frequently Asked Questions
What’s the difference between single-sided and double-sided ribbon?
The double-sided ribbon displays the same finish on both sides, while the single-sided ribbon has a satin finish on one side and a matte finish on the other, requiring specific techniques to showcase the decorative side properly.
How do I prevent my bow from becoming lopsided?
Maintain even tension while forming both loops and adjust them simultaneously rather than one at a time. Check the loop sizes against each other before making final adjustments to the knot.
Why should ribbon ends be cut at an angle?
Cutting ribbon ends at a 45-degree angle prevents fraying and creates a professional, tapered look that enhances the overall presentation of the gift.
How much ribbon should I allow when making a bow?
Calculate approximately six times the width of your package for a standard-sized bow, adding extra length if you want longer tails or larger loops.
Want More Tips Like This?
If so, sign up here and I’ll let you know whenever I add or update anything.
You can also follow me on social media for updates. And if you enjoyed this post, share it with your friends.
I appreciate all your support! Let’s continue to explore the colorful world of flowers together!
Til next time,


