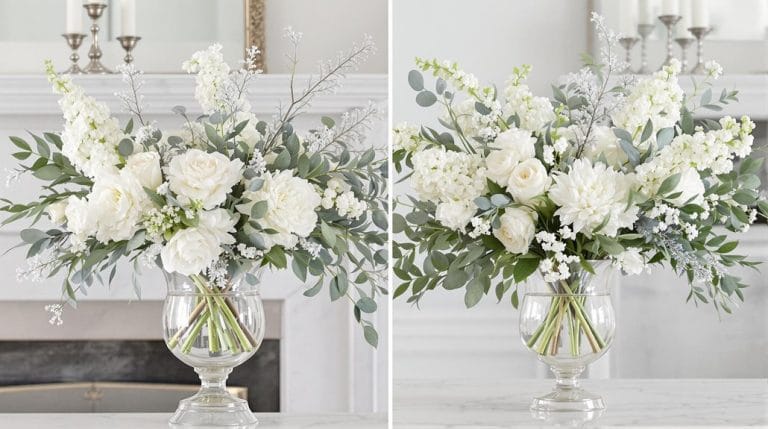
Learn three simple techniques to add the perfect finishing touches to your hand-tied wedding bouquet. Elevate your floral designs with these easy tips!
A great finish makes any hand-tied wedding bouquet look professional.
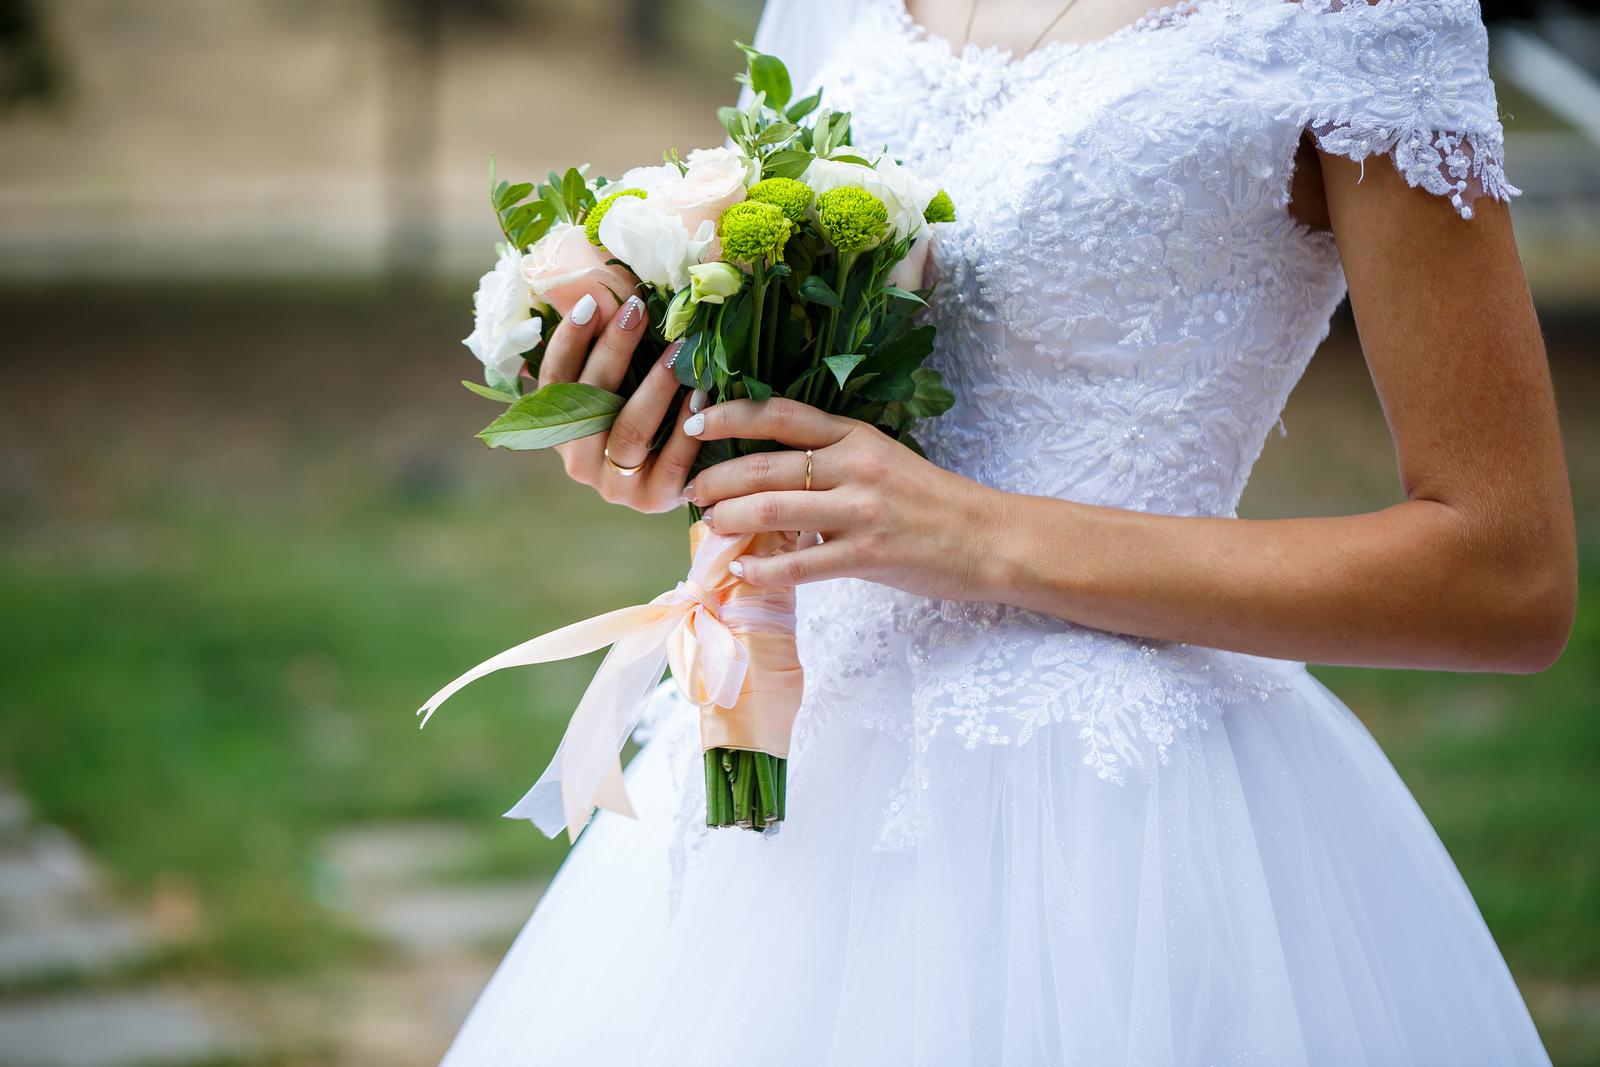
This video takes you by the hand and shows you two different ways to use satin ribbon for a high-quality wedding bouquet finish and a third way by using an aspidistra leaf for a more natural-looking hand-tied bouquet finish.
Think how creatively you will be able to finish off any hand-tied bridal bouquet like this by following the insider tips revealed here.
If you want to increase your wedding design skills, be sure to check out the step-by-step tutorial.
Whether you are a novice or a seasoned floral designer, it’s a video I think you’re going to find very useful. Check it out. I think you’ll feel the same!
I certainly hope you liked the video, and can’t wait to give these a whirl with your next hand-tied wedding bouquets. These finishing touches will complement all the gorgeous wedding flowers and foliage you use in your beautiful bouquet.
Recapping The Wrapping Techniques
To use these methods, you’ll need double-faced tape, corsage pins, #9 satin ribbon, or an aspidistra leaf.
Method 1: Simple Ribbon Wrapping
This is the easiest method for most people to use. It’s also one of the best since the ribbon color can be changed to complement any bouquet style.
Start by binding the stems of the bouquet together using double-sided tape. This helps keep the bouquet secure even if you need to put it down temporarily.
Once the stems are bound, wrap the satin ribbon around them, starting from the bottom and working your way up.
Make sure the ribbon is at a slightly lower position in order to create a straight edge at the bottom. It’s important to use sharp scissors to cut the ribbon, especially when using double-faced satin ribbon.
Fold the ribbon back on itself to create a neat edge, and use pins to secure it. That’s all there is to it.
Method 2: Simple Ribbon Wrapping with Loops and a Bow
This method is similar to the first method. To achieve this elegant look, use a #9 satin ribbon again.
Once you have wrapped the stems with double-faced tape, start by leaving a tail at the top, then run the ribbon to the bottom. Fold it over and begin wrapping the ribbon around the stems, working back up to the top.
Once you reach the top, cut the other tail to match, and tie the ribbon off to secure it. To add a decorative touch, create a bow using another piece of ribbon and tie it above and below the loops to secure the ribbon and loops in place.
Although this method is easy, getting it the way you want it to look may take practice.
Method 3: Natural Look Wrapping with Foliage
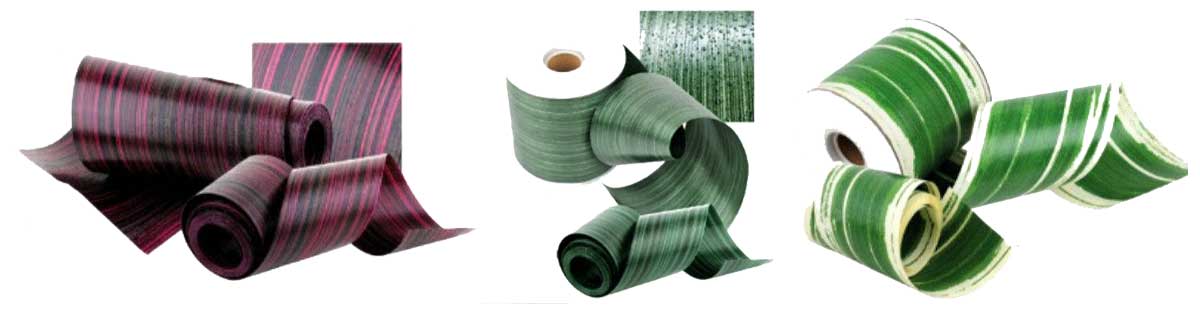
Again, start by wrapping the stems with double-faced tape. Use an aspidistra leaf or any other suitable foliage for a more natural and organic finish.
Shave off a little bit of the stem spine lengthwise at the back to make it flatter and more flexible. Wrap the leaf around the bouquet, starting from the bottom and rolling it up.
Once you reach the end, fold the leaf inwards to secure it. Use wire to wrap around the bouquet, twisting the ends together at the top to secure it. I like using bullion wire, but any thinner gauge wire will do. Once secure, trim the wire and fold it into the stems using scissors.
A waterproof aspidistra-patterned ribbon can also be used for this technique.
These three methods offer different ways to finish a wedding bouquet, allowing you to choose the best style for your bouquet. Whether you opt for a classic ribbon wrap, a ribbon with loops and a bow, or a more natural look using foliage, these techniques will add the perfect finishing touch to your bouquet.
If you want to keep the bouquets in water, be sure to leave enough of the stems exposed and keep the water level in the vase below the wrap. Trim the stems as needed, and the finished bouquet will be ready for packing and delivery.
Have fun experimenting with these techniques and creating beautiful wedding bouquets!
Where To Look For What You’ll Need
When it comes to finding all the necessary flowers and greens for your wedding bouquets, there are several options available.
You can easily find them online through bulk flower vendors such as FlowerExplosion, BloomsbytheBox, and GlobalRose. These are reputable sources that I personally recommend.
If you only need a few high-quality flowers, purchasing them from a local florist instead of online might be a better option. While it may be slightly more expensive, you won’t have to buy as many flowers, which could help save costs.
Furthermore, the supplies used in the video, including double-faced tape, white double-face satin ribbon, and bullion wire, can be easily found on Amazon or at hobby and craft stores like Hobby Lobby and Michaels. These places offer a wide range of options to meet your needs.
Want More Wedding Bouquet Design Tips Like This?
If you do, enter your email address, and I’ll notify you whenever I post new tips.
We will only use your information to send you our blog updates. You can change your mind anytime by clicking the unsubscribe link at the bottom of any email you receive from us. You can find details about our privacy practices here.
You can also follow me on social media, where I post additional bouquet design tips. If you have comments or questions, I am also happy to answer them. So I hope you’ll join me on social media as well.
Til next time,