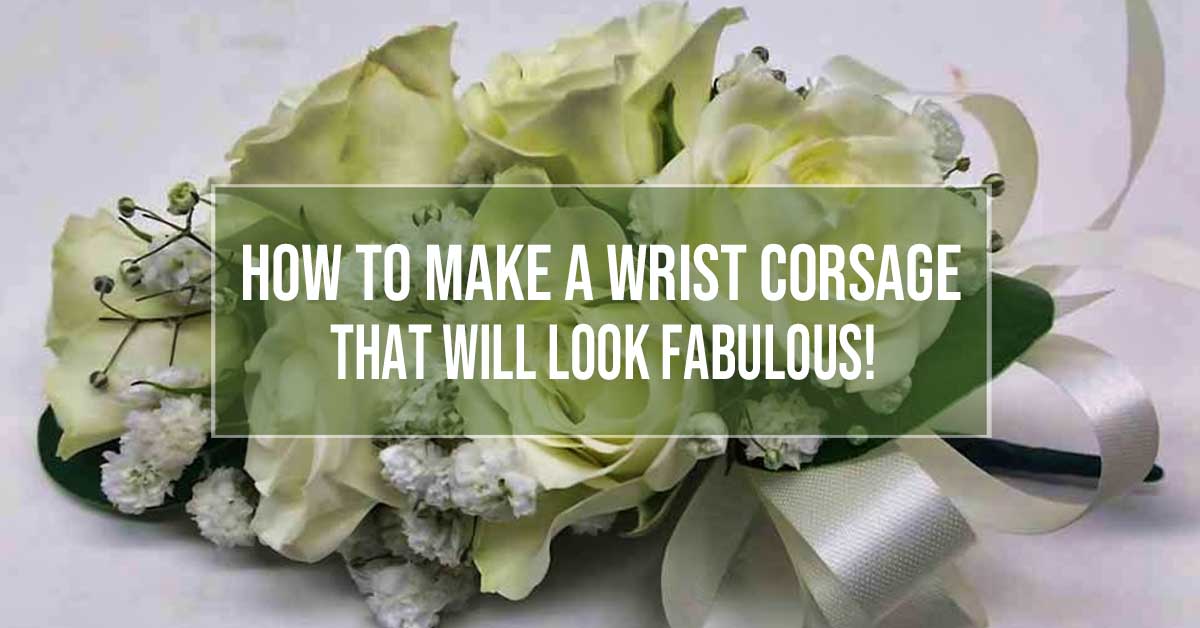
Designing a stunning DIY wrist corsage is easy - Especially when you follow this wrist corsage tutorial.
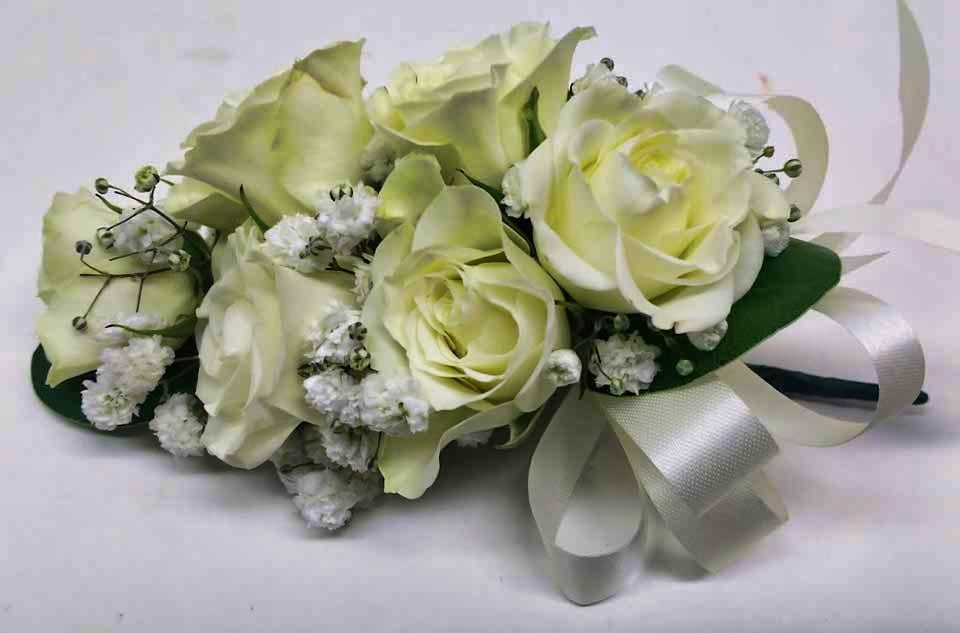
Mastering This Technique Will Make Your Wrist Corsage Designs Rock!
I like this video teaching you the techniques to design a traditional wrist corsage. It’s an excellent tutorial that highlights, in my opinion, the most under-appreciated facet of floral design.
In it, floral designer John McDonald covers an “old school” technique that, in my opinion, is one that all aspiring floral designers and seasoned pros need to know how to do.
Take a look and see if you agree.
A pretty insightful guide, wouldn’t you agree? The mechanics used in this video are a rock-solid way to design wristlet corsages for a formal event like a prom or a wedding and other special events.
While most designers make wrist corsages with cold glue today, supply disruptions over the last several years have shown that “old school” wiring-and-taping techniques are far from dead.
Making A Wrist Corsage? Here Are The Steps To Follow
Making a wrist corsage starts by organizing and doing the prep work, then assembling the corsage and attaching it to the bracelet.
Step 1. Gather the supplies you’ll need. They will include floral wire, floral tape, a wire cutter, ribbon, and a floral bracelet to attach to the corsage.
Step 2. Choose the primary flowers, filler flowers, and foliage to use. The types of flowers you choose are not as important as the size of the blooms.
Individual flowers should include more open flower blooms and several flower buds of different sizes. Also, choose a few different sizes and types of leaves and filler flowers.
Examples of filler flowers might include baby’s breath, berries, or waxflower.
Step 3. Prep and wire the flowers, leaves, and ribbon you will use. I use a thin (#26 gauge) floral wire for wiring delicate flowers and greenery.
For sturdy flowers like sweetheart or spray roses, I use a heavier #22 gauge floral wire, which provides more support.
Although it isn’t necessary, using loops of ribbon can introduce an accent color into the corsage. It’s especially effective when matching colors that are not available with fresh flowers. I typically use a #3 (5/8 inch wide) ribbon for most of my corsage designs.
Of course, you could also use silk flowers to sneak in some color. Used along with real flowers and foliage, it will look entirely natural.
Besides a few fabric flowers or flashy ribbons, you can add other decorative accents, such as rhinestones and pearls, for color and effect. Each of these is a nice finishing touch.
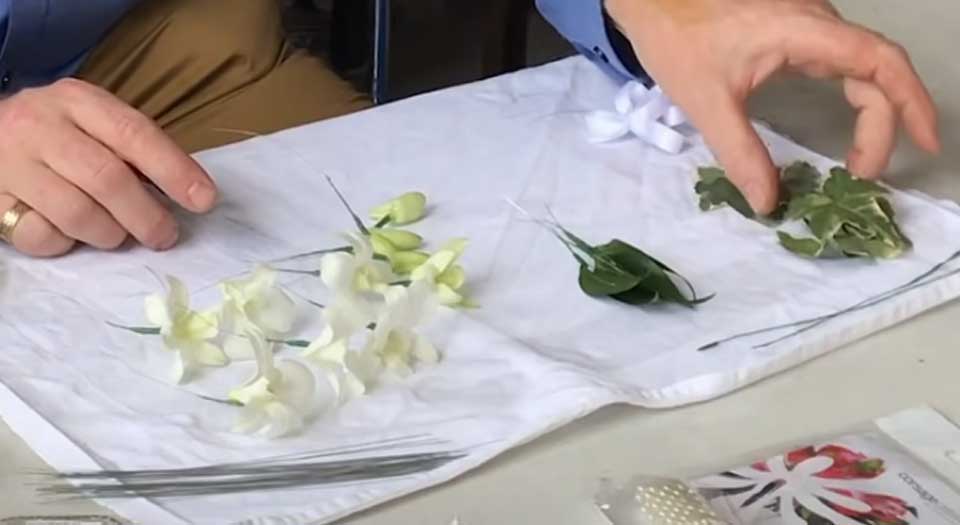
Step 4. Begin to add the foliage and flowers as shown in the video, making sure to place the flowers closer together to avoid gaps when you design the corsage to curve across the wrist.
The flowers need not be placed as close together if worn lengthwise.
Step 5. Once you finish the corsage, it can be attached to the bracelet. Most corsage wristbands come with either an aluminum or plastic base to secure the corsage to the wristband.
If the corsage band you are using has an aluminum base, you can fold over the tabs to allow the corsage to be attached and worn across the wrist.
I recommend using floral wire to attach a corsage with multiple flowers to the bracelet. It will be more secure than using ribbon or hot-melt glue.
Which Wrist Is A Corsage Worn On?
Wrist corsages are normally worn on the left wrist, but wearing them on the right wrist is perfectly acceptable if left-handed. Do what is comfortable for you.
Ready To Try Your Hand At Making A Wrist Corsage?
I encourage you if you’ve got the time and want to give it a shot. It’s an essential floral design skill that you should have in your arsenal.
So what are you waiting for? Grab a few flowers and the supplies you’ll need, and get started!
Once you try it, I’m confident you’ll come away with a greater appreciation of what it takes to create a beautiful wrist corsage and an appreciation of how easy the pros make it look.
Want To Learn About More Tutorials Like This?
If so, enter your email address below to subscribe for updates. Any email you receive from me will not be promotional. They’ll merely be notifications of new floral design tutorials that I post.
If subscribing is not in the cards, why not follow me on social media, so we can continue the conversation there?
And lastly, if you enjoyed this post, please share it with your friends.
Til next time,


